Monday, February 28, 2011

Apron from a Skirt

Apparently, I am on a spring cleaning kick, which ironically means my house is a disaster, but i have hope for it.  I found a skirt that I bought when I was size 4.  I love it, but never even wore it once, and am definitely not size 4 anymore.  I thought I should probably cut it up and make something new.  Who wouldn't?


So, I cut down either side of the zipper and then a little more just to make sure it wasn't quite a skirty with the finished product.  I folded the cut fabric on the skirt over and ironed and pinned it.  Then, I found some coordinating fabric for ties.  I cut a couple of strips on the fold and made two ties and turned them back rightside out.  then, I sewed them into the waistband and sewed down the edges of the skirt where I cut the extra fabric.  Then, I finished the edges of a couple of squares from the extra fabric and voila... pockets!  Very technical description, maybe I shouldn't even try. I had fun though, and I love my new apron.  I've already worn it more times than when it was a skirt!

If I ever see anyone actually reading this, I promise I'll start taking better pictures as I go on my projects.  Until then, I'm having fun!

Pantry Reorganization

I was greatly inspired by Kierste from Brown Paper Packages.  She re-organized her pantry and simplified her life.  I felt the need to do so as well!  Now when I open my pantry, I take a deep breath and enjoy, because I know what I have and where it is and it's just so dang pretty!  My dad and I built a beautiful pantry and when I "moved in" to it, I just put food from all my various stashes in there without much rhyme or reason.  I was just so happy to have a place to put it.  It was time to get it all in order.
   **Decorative touches may come in the future, can you imagine a pretty, cutsie, and organized pantry?  If not, look at her blog, you don't have to!

I'm going to be brave and show you before and after pictures.  I'd rather just show you after, so don't judge!

Before...


All the crap I found in the pantries...
 
Success!
 After throwing away a LOT of stuff and buying storage containers, washing and drying and filling said containers, a HUGE difference!

 Note: The stuffed dragon guarding the candy!

I hope you feel inspired to get things organized!  Have a good night!


Wednesday, February 23, 2011

Baking for the Cookie-thon

A couple of gals at work are have a cookie-thon for the American Heart Assoication.  I thought I'd chip in with some awesome chocolate chip cookies.  I opted for these two recipes:

Cocoa Chip Cookies

The ones in the picture on the website flattened and mine didn't, but they taste good!  I substituted for 1/3 fat cream cheese, maybe that had something to do with it.  Hopefully they'll sell!

Devil's Food Cookies Recipe 

Oddly enough, these look like they don't flatten much on the website, but mine flattened.  These are DELICIOUS, quite possibly my favorite cookie.  I could get myself in trouble with these.

 Enjoy!

Wednesday, February 16, 2011

Banana bread!

Found a yummy Banana Nut Bread recipe on the food network website!  YUM!


Tuesday, February 15, 2011

Travel Pillow


So, I travel occasionally for work and my boyfriends' mom has made these little pillows.  Instead of begging her to make me one, I thought I'd give it a try.

Warning: Be prepared to do a good cleaning on your machine after this project as feather tend to float and get everywhere.  :)  It's worth it though.

So, I started by folding the pillow in half and pinning two rows down the middle.  (I didn't really figure out a trick to not getting feathers everywhere when sewing, but pinning does make things easier).
I pinned the pins going opposite directions so that they'd be easier to remove as I sew.
Then I cut down the middle between the rows of pins.  (If you can pull some of the bigger feathers out at this point, it will help you later.  Especially the ones that might make your sewing machine angry).

Next, I basted the open end, removing the pins as I sewed.  Putting an extra row of pins in to hold the feathers down.  is really helpful.  After basting this, go ahead and pull out any big feather or sharp feather that are sticking out of the end.

Then, I used the serger stitch on my sewing machine to close up the the end and reinforce it.
Voila, you have 2 cute little pillows!

Next, you want to make a pillow case.  I made a really simple one.  The first step is to measure the pillow.
I got roughly 38" x 24." I have to admit, I ended up eye-ing it more than measuring it.  I generally make less mistake that way.


I cut out a rectangle of fabric on the fold that fit around the pillow nicely with a little extra space on the end.  The pillow case shouldn't be the exact same size as the pillow.  I turned the end of the pillowcase down and added some of my grandmother's lace on the end of the pillowcase.  
 

This was a really quick and easy project, that I feel had a great result!  I can't wait to use my pillow on my next trip!

Sunday, February 6, 2011

My Super Bowl Project

So, today, while I was out and about, I "Stumbled Upon" this mini pocketbook pattern from imsatiable need.  I just finished a quilt top and had left over fabric and thought I'd use it.  I didn't have any heavy canvas fabric, so I bought a little super heavy fusible interfacing and ironed it on.

 Cut the pieces for the pockets. 
 
I ironed an allowance down and sewed it down to stabilize it (plus I like the look of the seam across the front).  Then I ironed it down the middle.


(Sorry this is centered, blogspot is acting crazy tonight).
 Then, I sewed down the middle.  I added the pen holder on the right.  I didn't have any ribbon, so I made a loop from fabric.


Here's the finished product!


P.S. Does anyone know a good editor for blogspot?  This one is getting really frustrating.


Friday, February 4, 2011

Snowed In!

So, I'm in Oklahoma and in the past few days we've gotten 14 inches of snow.  That's actually a low estimate.  As we're really not equipped for this weather here, we've been hunkered down.  In the past week I've left the house twice.  Once, to drive down to the pizza place, where a skeleton crew satisfied our comfort food craving, the next to walk to the liquor store today.  Classy, right?  :)  So, in ALL of my spare time, I've been sewing. 

                                (This sooooo shouldn't happen here.  We just aren't made for it).

Yes, the snow is piled up to the
window sill in the whole back yard.


Soooooo... Let's sew...

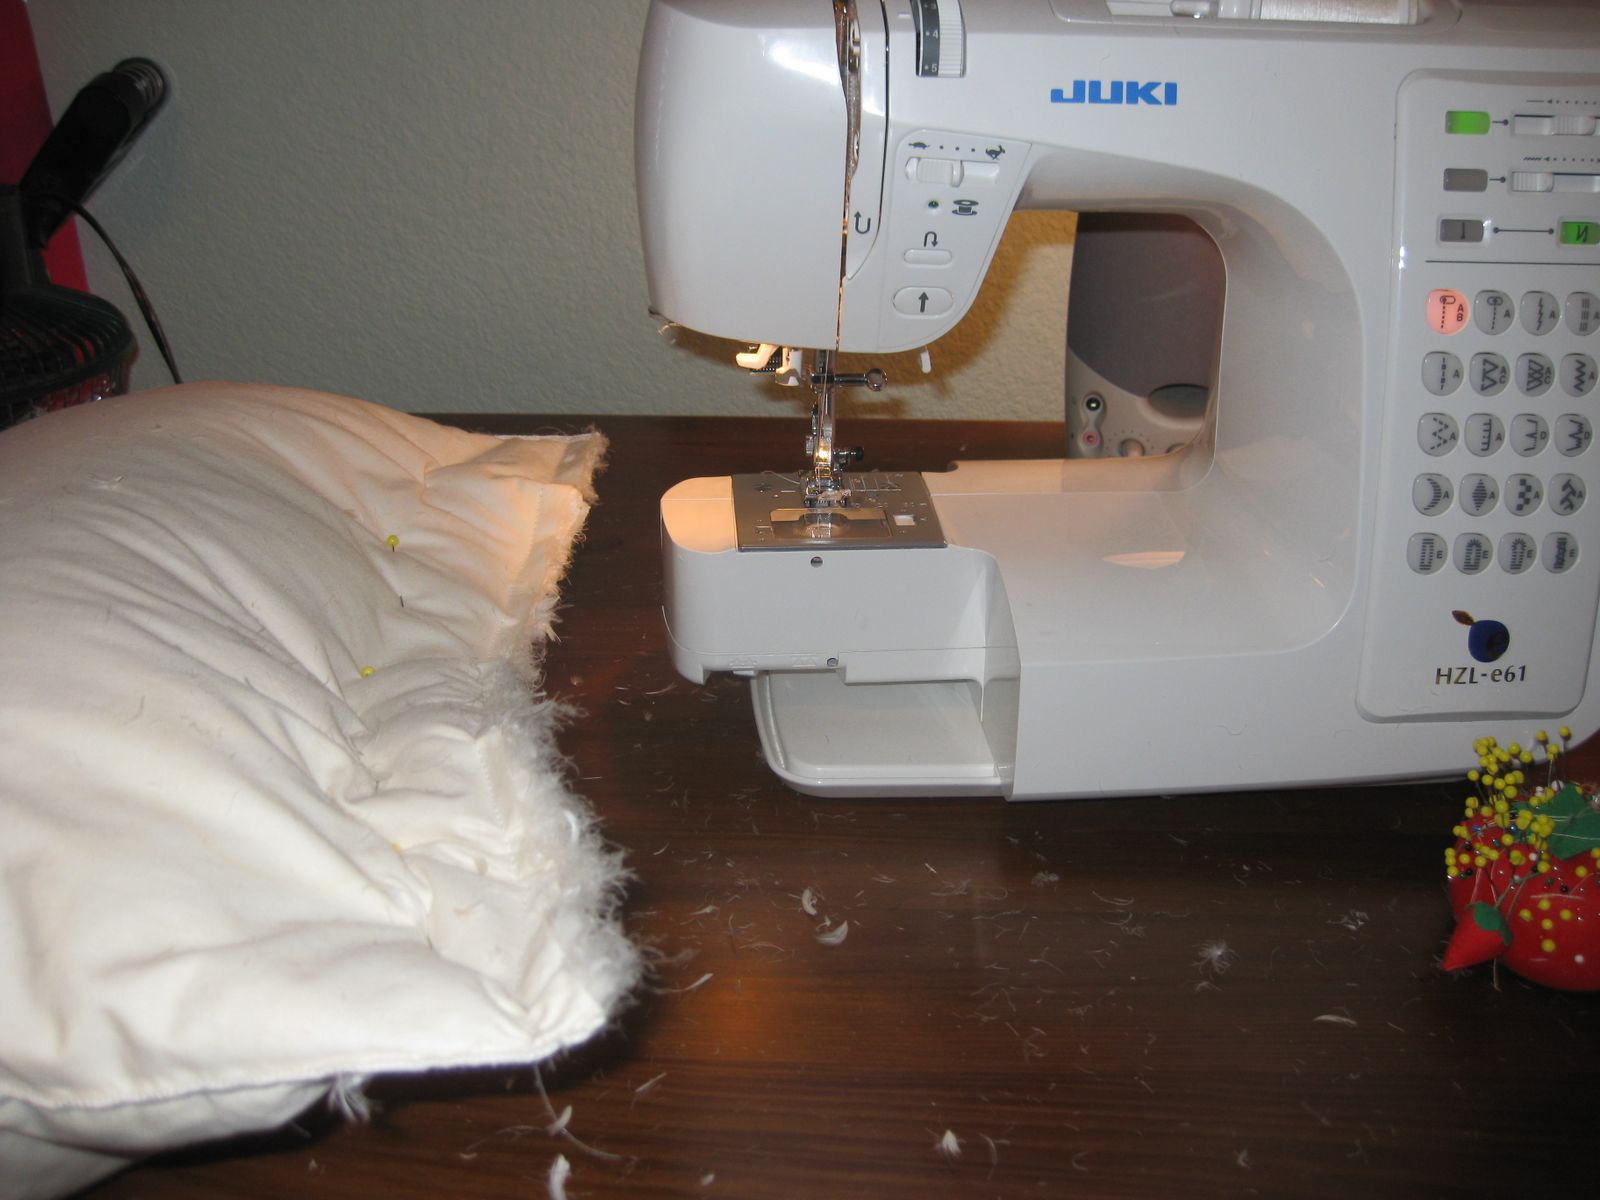
I have a ton of pillows and the pillow covers are all mismatched, so I am making covers for them to at least have a common theme. Here are the first two I made.  The charcoal is very original I think :)  Really, I got a great deal at Garden Ridge where they sell remnants, and the fabric was soft and cozy feeling.


I made a couple of "tootsie roll" pillow covers from remnant upholstery fabric I found at Hancocks on sale. It's super soft.  So not like most upholstery fabric I have found.  (I don't have the pillows with me right now, the one in the picture is my mom's.  Hopefully they fit!)  I never knew how tricky sewing can be.  Sewing circles with no pattern is difficult.


Kayla found a pattern from Amy Butler, Amy's Lotus Brick Path Quilt, and we found a website, The Cotton Loft, with great deals on fabric.  Michael Miller for 5.95/yd.  We put the two together and here's what I've got so far. 


Cut out what felt like a TON of little rectangles and placed them pretty randomly.  I only bought 9 prints and the pattern called for 11.  If you make it, I'd say definitely use 11.  It would make the placement easier.
I'll probably finish the front of this tomorrow.  (Technically today).  :)

Lovey for my sweet little nephew.  Apparently, babies like to chew things.  this will match his tummy blanket and has many fabric tabs perfect for the chew-aholic.

 I shouldn't say anything, but it bugs me.  I was trying soooo hard to figure out how to have the green fabric on the outside be a border.  I sewed it into the inside like everything else and turned it and hand sewed the hole.  I really thought it through worng and am still not quite sure what I should have done differently.  If you have any ideas, let me know.
I bought a PSP and needed a PSP Case for my fun new toy, that I have since abandonded for my trusty sewing machine.
I wanted one like this, I thought it looked simpled and like I could make it.


Here's what I made.  I messed up so many times and had to tear stitches out!  I tell you, it is so much easier to have a pattern.  I kept sewing the middle part together too early and trying to turn it right side out.  Took me a while to see what should have been plain as day.  That's what happens when you stay up until 4 AM finishing a project.  You know you've all done it before.


I made a pair of slippers, they turned out really fun and cute.  I bought the pattern from Winter Peach. Cutting out the fabric was a little tricky, but I think I've got the hang of it now.  I even bought foam to try and use in the next pair.  I cheated and sewed quilting batting into my first pair to try and make them a little more substantial.

I had never used Wonder Under before and I might have ironed paper in them.  At least, you'll always know where I'm at when I wear them from all the crinkling.  I plan to make a few more of these. 

Please note the button hole foot for my machine is glorious and amazing.  I feel like I should post a video of it at work, because it's magic.  I'd never done a button before, because it seemed really intimidating.  Not so.  Fancy sewing machine features do come in handy some times.  :)


Well, that's where we're at so far.  I'm sure I'll have more to share soon as this stupid weather doesn't seem to be going anywhere.  G'Night!